[iOS] 아이폰5 해상도 대응 — 오래된 방식에서 현재 방식으로
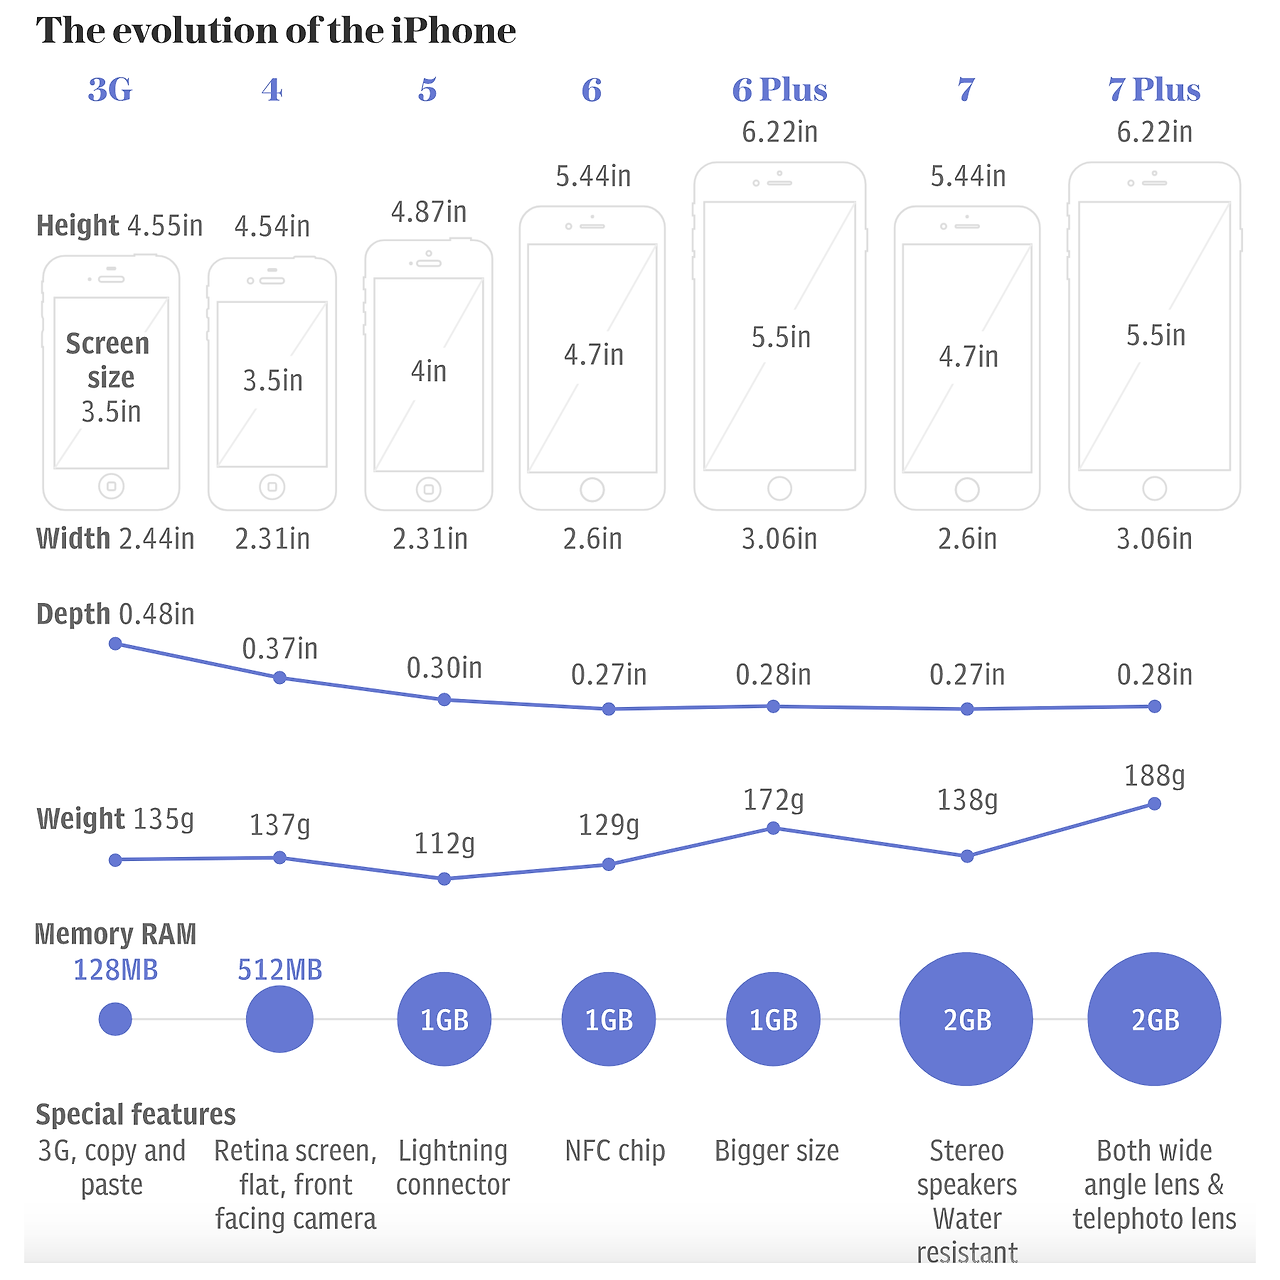
iPhone 5가 처음 출시되던 시절(4인치, 1136×640), 많은 개발자들이 3.5인치(480×320) 기반 레이아웃에서 화면을 늘리기 위해 고생했습니다. 당시에는 Default-568h@2x.png를 추가하거나, nib 파일의 autoresizing mask를 조정하거나, 직접 [UIScreen mainScreen] bounds] 값을 비교하는 식으로 대응했습니다.
하지만 이 방식은 2025년 현재 개발 방식과는 완전히 다릅니다. iPhone 5는 이미 지원 종료된 디바이스이며, 지금은 Auto Layout / Safe Area 기반의 반응형 UI가 표준입니다.
1. 옛날 방식: iPhone5 대응을 이렇게 했었다
당시에는 iPhone5만 유일하게 4인치 해상도를 사용했기 때문에 다음과 같은 작업이 필요했습니다.
1) Build Settings → Valid Architectures에 armv7s 추가
iPhone5 전용 아키텍처였던 armv7s를 추가해야 했습니다. 하지만 지금은 armv7, armv7s 모두 더 이상 사용되지 않습니다.
2) Default-568h@2x.png 추가
런치 이미지 파일을 프로젝트에 포함해야만 iPhone5의 전체 화면에서 앱이 실행되었습니다. 이 파일이 없으면 ‘레터박스(letterbox)’ 모드가 되었죠.
3) nib 파일 autoresizing mask 조정
Auto Layout이 없던 시절이라 top, bottom margin을 조정해 높이를 늘리는 방식이 자주 사용되었습니다.
4) CALayer 직접 리사이즈
viewWillLayoutSubviews에서 수동으로 layer 크기를 조절해야 했습니다.
5) 하드코딩된 좌표 수정
CGRectMake(0,50,320,460)이런 하드코딩된 값은 iPhone5 출시와 함께 모두 깨져 에러가 나는 대표적인 코드였습니다.
if ([[UIScreen mainScreen] bounds].size.height == 568.0) {
    // 아이폰5 (4인치)
} else {
    // 아이폰4 이하 (3.5인치)
}
이런 분기 코드도 당시에는 흔하게 쓰였습니다.

2. 2025년 현재 방식: 이렇게 하면 됩니다
아이폰 5 대응은 더 이상 필요하지 않지만, 지금의 iPhone 14~15, iPad, 노치/다이내믹 아일랜드/홈바 등 다양한 디바이스를 대응하기 위해서는 근본적으로 접근 방식 자체가 완전히 바뀌었습니다.
1) LaunchScreen.storyboard 또는 LaunchScreen.xib 사용
Default.png, Default-568h@2x.png 같은 ‘정적 런치 이미지’는 모두 폐기되었습니다. 현재는 LaunchScreen을 스토리보드 기반으로 구성해야 합니다.
2) Auto Layout 필수
직접 frame을 지정하는 레이아웃 방식은 iOS 개발에서 완전히 사라졌습니다. 최신 앱은 모두 Auto Layout 또는 SwiftUI의 레이아웃 시스템을 사용합니다.
3) Safe Area 대응
노치, 홈 인디케이터가 추가되면서 Safe Area의 개념이 필수입니다.
someView.topAnchor.constraint(equalTo: view.safeAreaLayoutGuide.topAnchor)
iPhone5처럼 “해상도별 분기”는 사라지고, Safe Area가 표준입니다.
4) SwiftUI라면 자동 반응형
SwiftUI를 사용할 경우 디바이스 해상도를 신경 쓸 필요가 거의 없습니다.
var body: some View {
    VStack {
        Text("Hello")
    }
    .padding()
}
5) 하드코딩된 frame 제거
여전히 Auto Layout 없이 frame을 사용하는 경우가 있다면, 아래 같은 방식으로 변경해야 합니다.
let screen = UIScreen.main.bounds
someView.frame = CGRect(x: 0, y: 0, width: screen.width, height: screen.height)
그러나 SwiftUI 또는 Auto Layout에서는 이런 코드조차 필요가 없습니다.
3. 요약
- 아이폰5 해상도 대응은 과거 iOS 6~7 시절 레거시 이슈이다.
- 현재는 LaunchScreen.storyboard + Auto Layout + Safe Area가 표준이다.
- 하드코딩된 좌표나 이미지 기반 레이아웃은 폐기해야 한다.
- SwiftUI 사용 시 디바이스 크기 대응은 자동으로 처리된다.
오래된 프로젝트를 유지보수하다 보면 iPhone5 시대의 잔재 코드(frame 하드코딩 등)를 종종 만나는데, 이럴 경우 해상도 대응을 고민하기보다 레이아웃 구조 자체를 현대적으로 전환하는 것이 가장 확실한 해결입니다.
'IT·디지털 > IT 개발자 팁' 카테고리의 다른 글
| [iOS] 화면 밝기를 강제로 최대값으로 변경 후 다시 복원하는 방법 (2025 최신 기준) (1) | 2013.10.11 |
|---|---|
| ASP.NET Web Service: wsdl.exe 유틸리티 사용법 정리 (0) | 2013.09.10 |
| [iOS] UIAlertView didDismissWithButtonIndex 문제, 지금은 어떻게 해결할까? (UIAlertController 기준) (0) | 2012.12.04 |
| 스마트폰 디바이스별 해상도 정리 (2025년 기준) (4) | 2012.08.22 |
| DOS 배치 파일을 쉘 스크립트로 변환하기 (0) | 2011.10.14 |


